Occasionally I become enamored with the idea of becoming a Vim expert, or at least a competent Vim user. I work primarily in Windows environments so, though the desire exists, there aren’t many good opportunities to build Vim habits. There is a Vim on Windows release available. This has a GUI interface and an installer executable. Though if you have Git for Windows installed, then you already have Vim available. Git for Windows comes with the ever useful, Git Bash. And, lo! Git Bash has Vim.
Firing up a quick Git Bash session is simple enough. And firing up vim from there is straightforward. Thankfully, my previous experience with exiting Vim saved me from an embarrassing search query in my browser history.
It’s an old meme, but it checks out. (esc, : then q! to quit without saving, btw)
Configuring Vim in Git Bash
Vim’s configuration can be customized with vimrc files. These files are scripts written in Vimscript. They run at initialization when Vim is opened. We can find out more information by using help commands inside Vim.
First, open a Git Bash terminal and then open vim. Then, in command mode, open the configuration help information with :help vimrc.
At this point we can see where Vim will look for custom vimrc files.
  Places for your personal initializations:
    Unix            $HOME/.vimrc or $HOME/.vim/vimrc
    OS/2            $HOME/.vimrc, $HOME/vimfiles/vimrc
                    or $VIM/.vimrc (or _vimrc)
    MS-Windows      $HOME/_vimrc, $HOME/vimfiles/vimrc
                    or $VIM/_vimrc
    Amiga           s:.vimrc, home:.vimrc, home:vimfiles:vimrc
                    or $VIM/.vimrc

  The files are searched in the order specified above and only the first
  one that is found is read.

  RECOMMENDATION: Put all your Vim configuration stuff in the
  $HOME/.vim/ directory ($HOME/vimfiles/ for MS-Windows). That makes it
  easy to copy it to another system.
Don’t be fooled. Since Git Bash uses msys2 to imitate a Unixy/Linuxy style system, Vim running inside Git Bash will be following Unix’s Conventions, rather than MS-Windows'.
Also let’s follow Vim’s recommendation for using the $HOME/.vim/ directory for configuration files.
Make the directory:
$ mkdir $HOME/.vim
Then create the vimrc file:
$ touch $HOME/.vim/vimrc
At this point, we have our empty initialization file for Vim. To make sure it’s working, I’ll add a command to turn on line numbering.
Open the vimrc file using Vim:
$ vim $HOME/.vim/vimrc
Then, enter Insert Mode by pressing i and enter three lines:
" Custom Vim configuration

set number
Save these changes by pressing esc to leave Insert Mode and then enter :wq to write the changes and then quit Vim.
To check that it worked, open up the same file in Vim again and look for the line numbers.
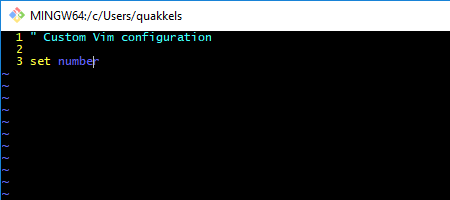
It worked!
There are many more configuration changes you can make. Be aware that Vim already has default configuration set that is targeted towards programmers. To find all scripts (remember that configuration is set via initialization scripts) you can use the command :scriptnames.
When I execute :scriptnames in Vim running in Git Bash, I see /etc/vimrc at the very top of the list. This makes sense since the etc folder is where Linux systems place a lot of their configuration. However, since this is in Windows, we need to figure out where the etc folder is. It’s not in C:\ nor in the $HOME directory. But, since Git Bash is mimicking a Linux system, we should be able to find it along with the other Git Bash files.
Since I’m running the 64 bit version of Git, I found the etc folder in C:\Program Files\Git.
Inside Git Bash, we can get there with:
$ cd c\"Program Files"\Git\etc
Then, to take a quick peek at vimrc just execute:
$ cat vimrc
Note: I would not recommend attempting to change anything in
etc. Instead modify Vim’s configuration using files in the$HOME\.vim\folder.
Armed with this information there’s a lot of stuff you can now customize. Here are a few more resources:
- Learning Vim in 2014: Configuring Vim
A few years old, but I really like how this author gets into the details rather than just telling you to copy/paste a.vimrcfile from GitHub. - Configure Vim with vimrc
Similar to Learning Vim in 2014, but more recent. Also has Linux specific informmatin which you will want to ignore if you’re running in Windows. - Learn Vimscript the Hard Way
This ebook has an incredible amount of detail. It may be too much if you’re looking to just make quick changes. But it has a lot of great information if you want to dive into the deep end. - Vim Cheat Sheet
Excellent for discovering all the Vim shortcuts that people love so much.
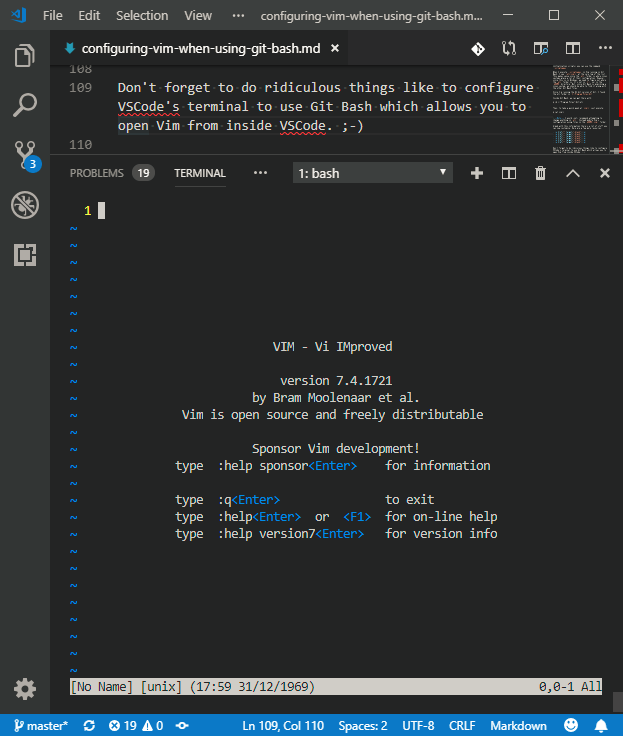
Don’t forget to do ridiculous things like to configure VSCode’s terminal to use Git Bash which allows you to open Vim from inside VSCode. ;-)
Please share this post with a friend, and subscribe to get notified of new posts.
Comments may be sent to blog@quakkels.com.